Onboarding
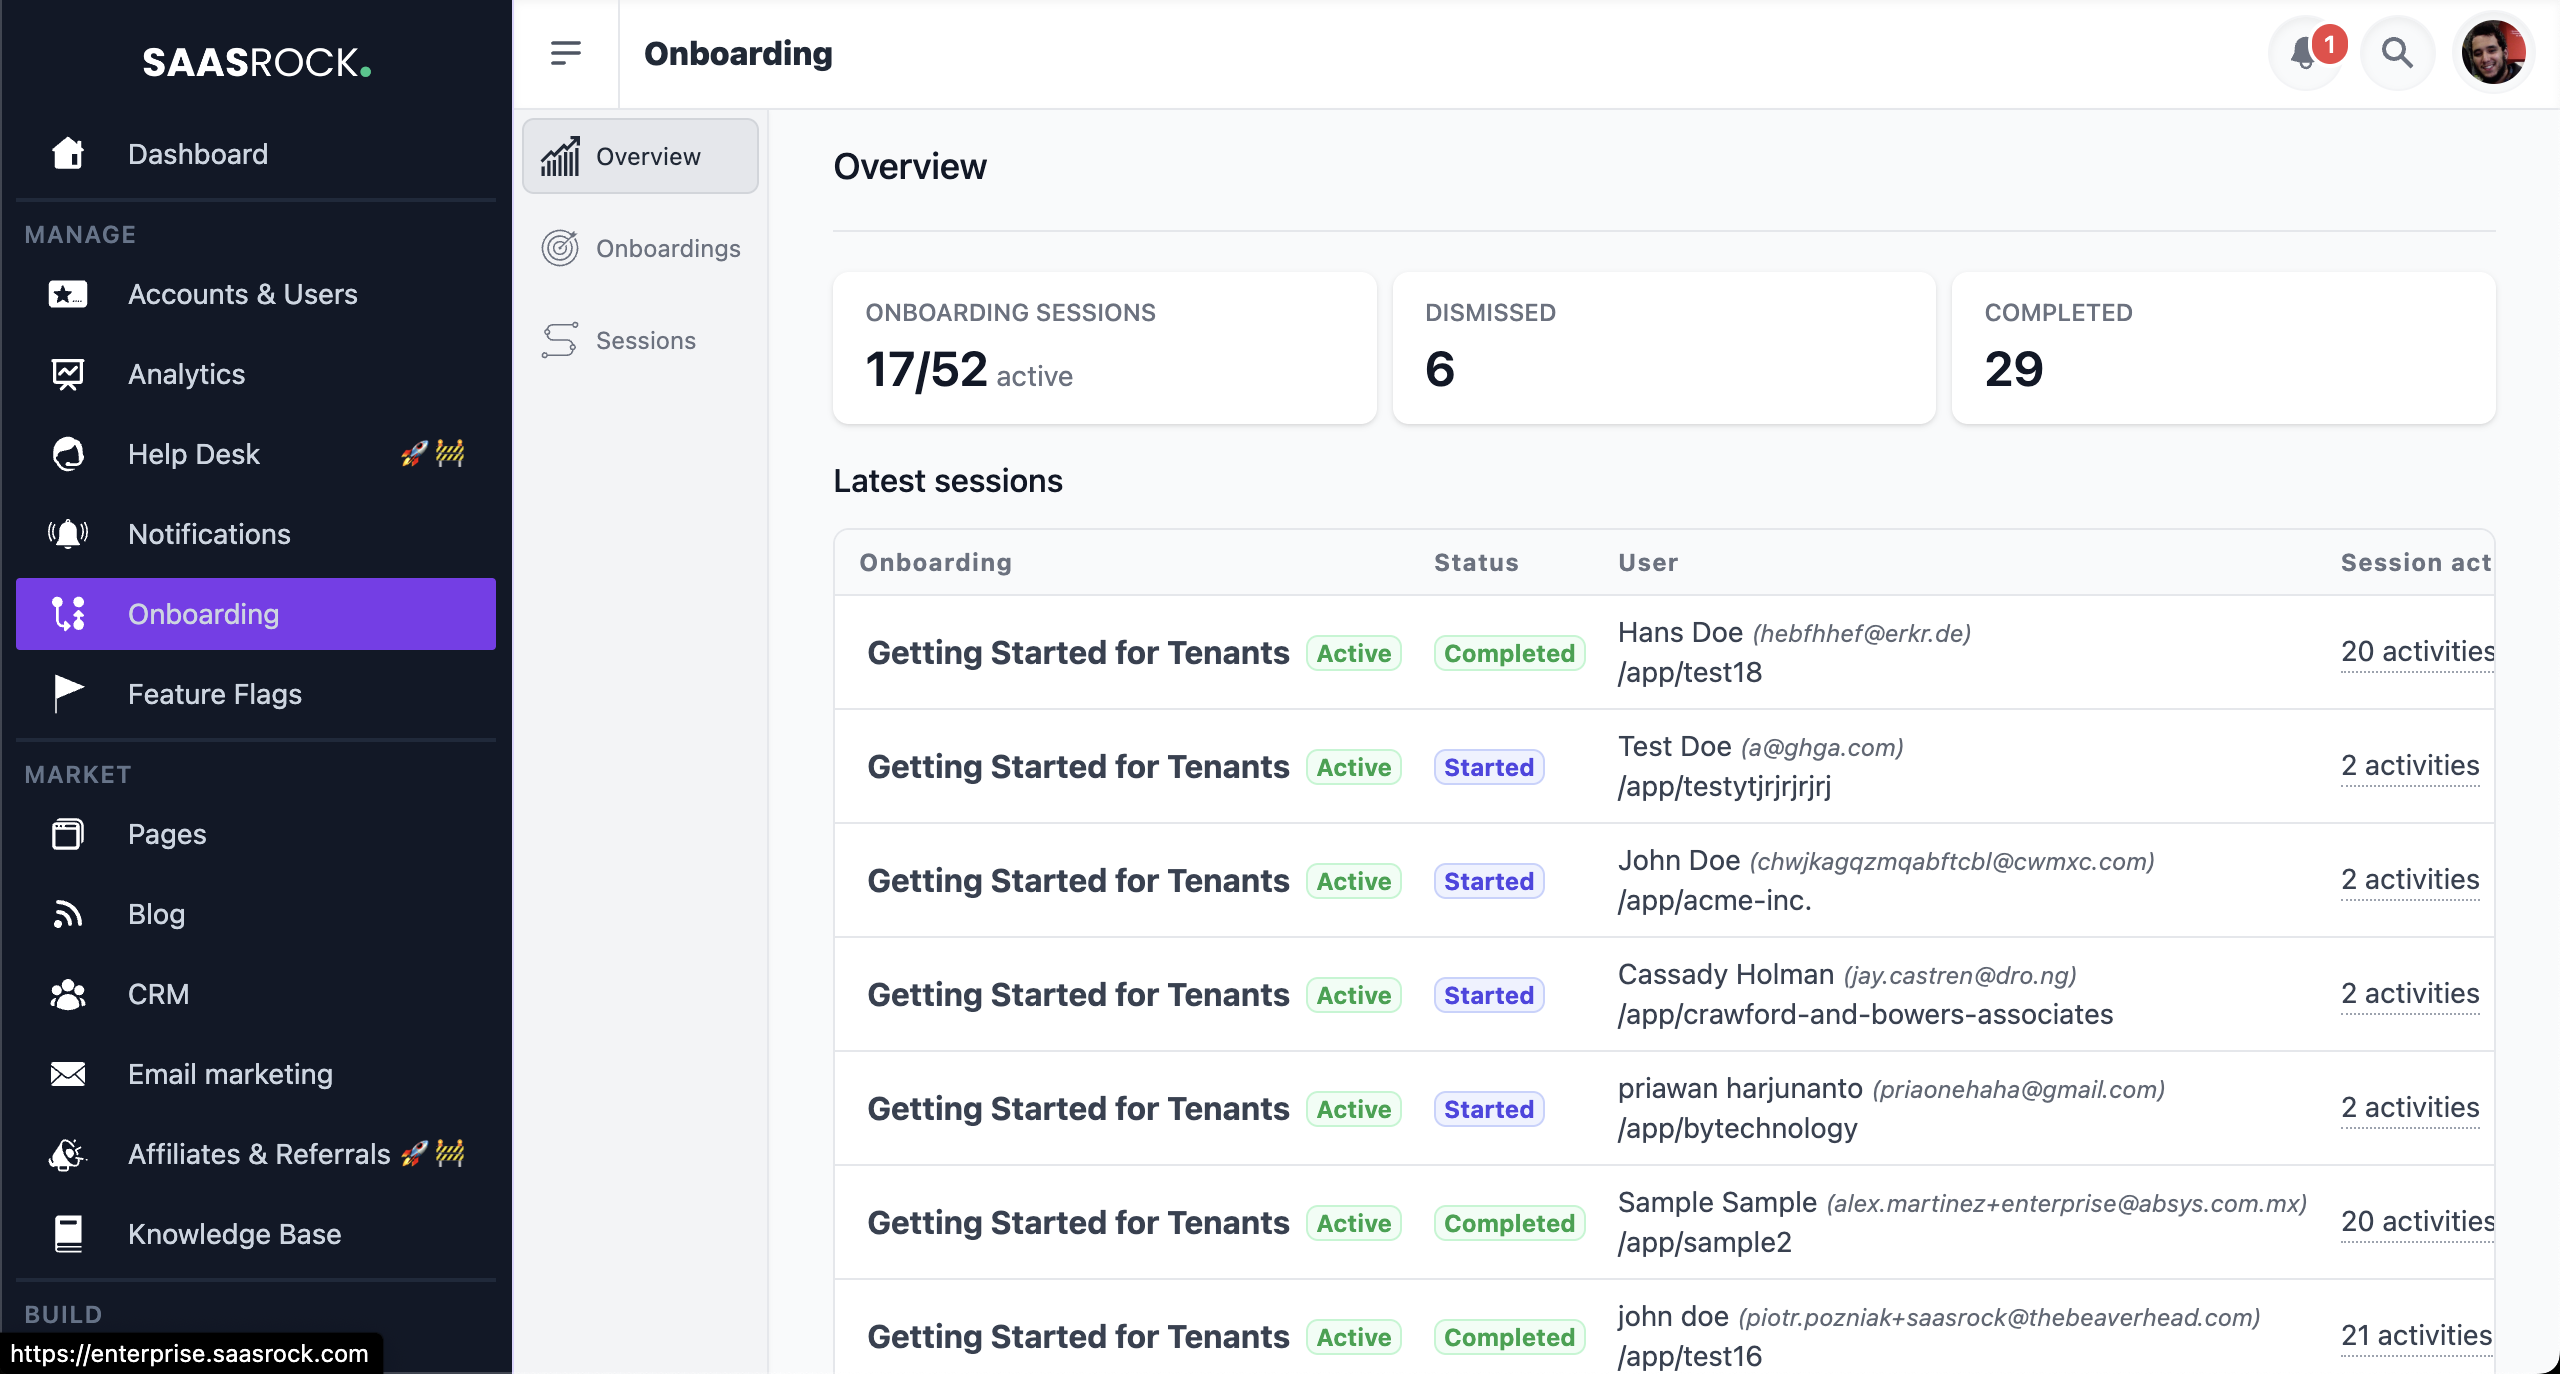
Create a tour for your users with custom filters & steps.
- Author
- by Alexandro Martínez
- 2.6 years ago
Watch demo: https://www.loom.com/share/8acb58a663a8472d91d8a9b22c190c8e

Steps
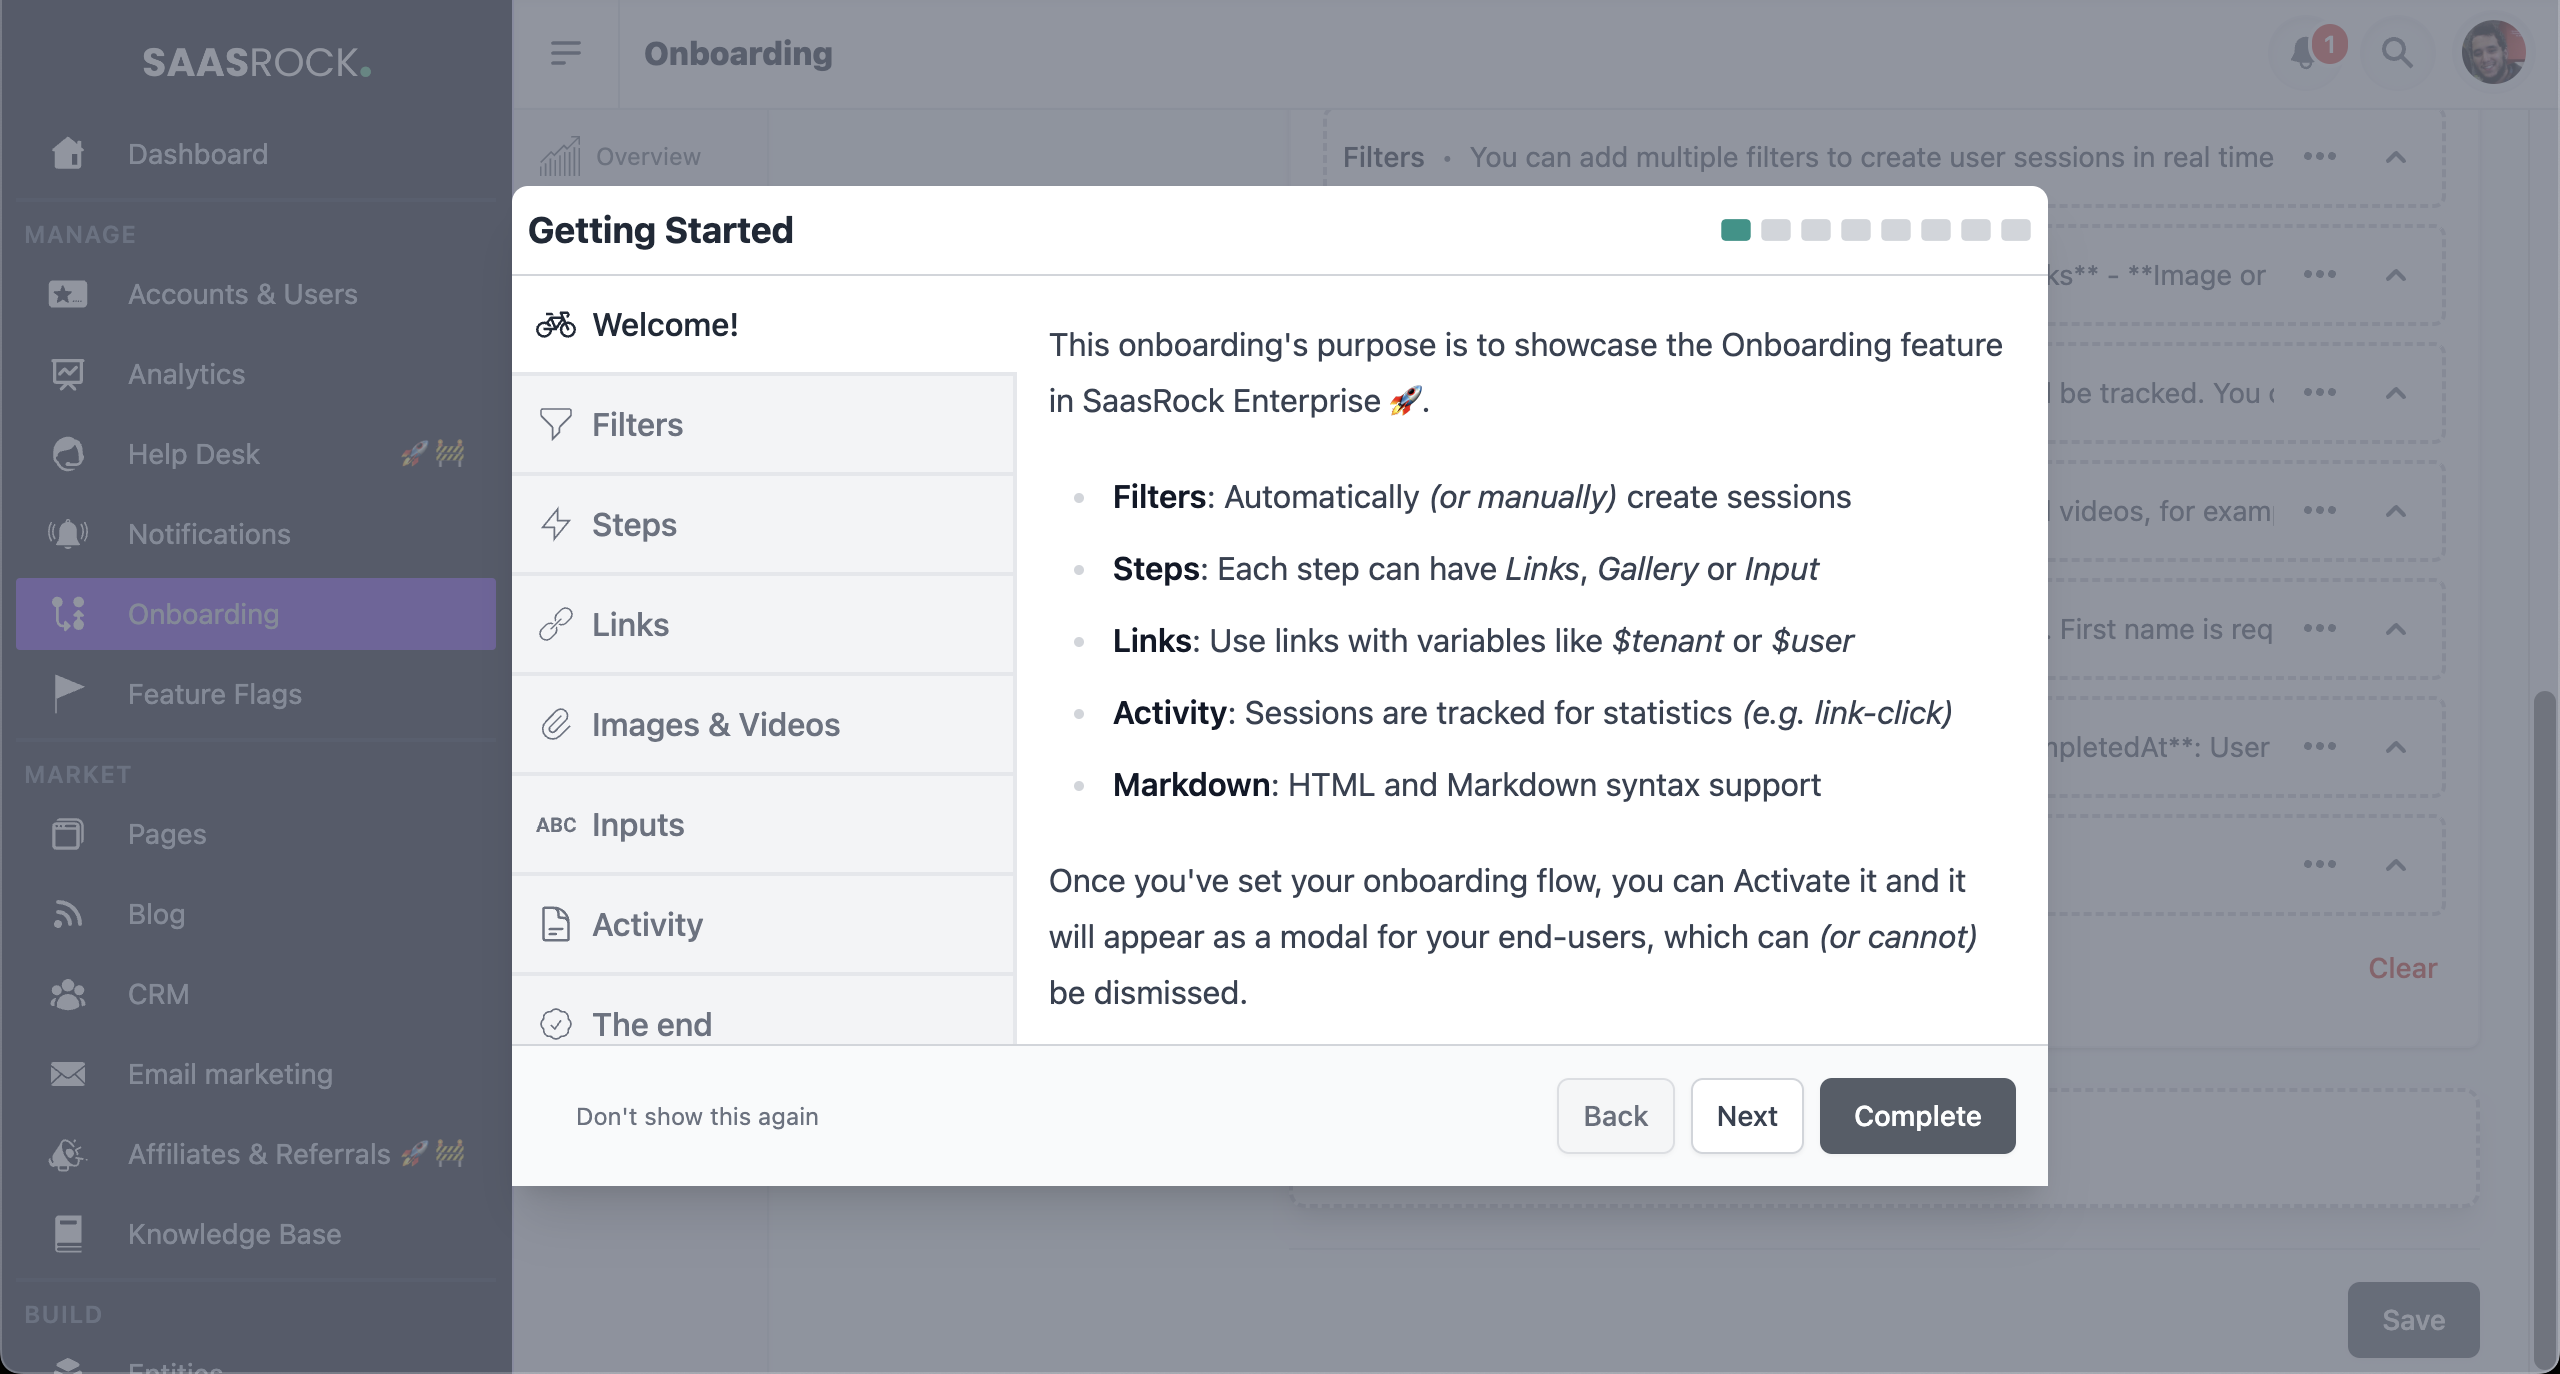
In the steps section, we can add one or more steps to our onboarding. Each step can include markdown, links, gallery items (such as images or videos), and inputs.

To add a new step, click on "Add New Step". This will bring up a modal where we can enter the step title and content. The content can include markdown, links, gallery items, and inputs.
Markdown
To add markdown, simply enter the desired text in the markdown editor. This can include headings, lists, and other formatting.
Links
To add links, enter the link text and URL in the appropriate fields. We can also specify whether the link should be primary or not, and whether it should open in a new tab.
Gallery Items
To add gallery items, such as images or videos, click on "Add Item" and select the type of item to add. For images, we can paste the image URL or upload the image from our device. For videos, we can paste the embed code from the video hosting site.
Inputs
To add inputs, such as text fields or dropdown lists, click on "Add Input" and select the type of input to add. For text fields, we can specify whether the field is required or not. For dropdown lists, we can add the options that should be available to the user.
Filters
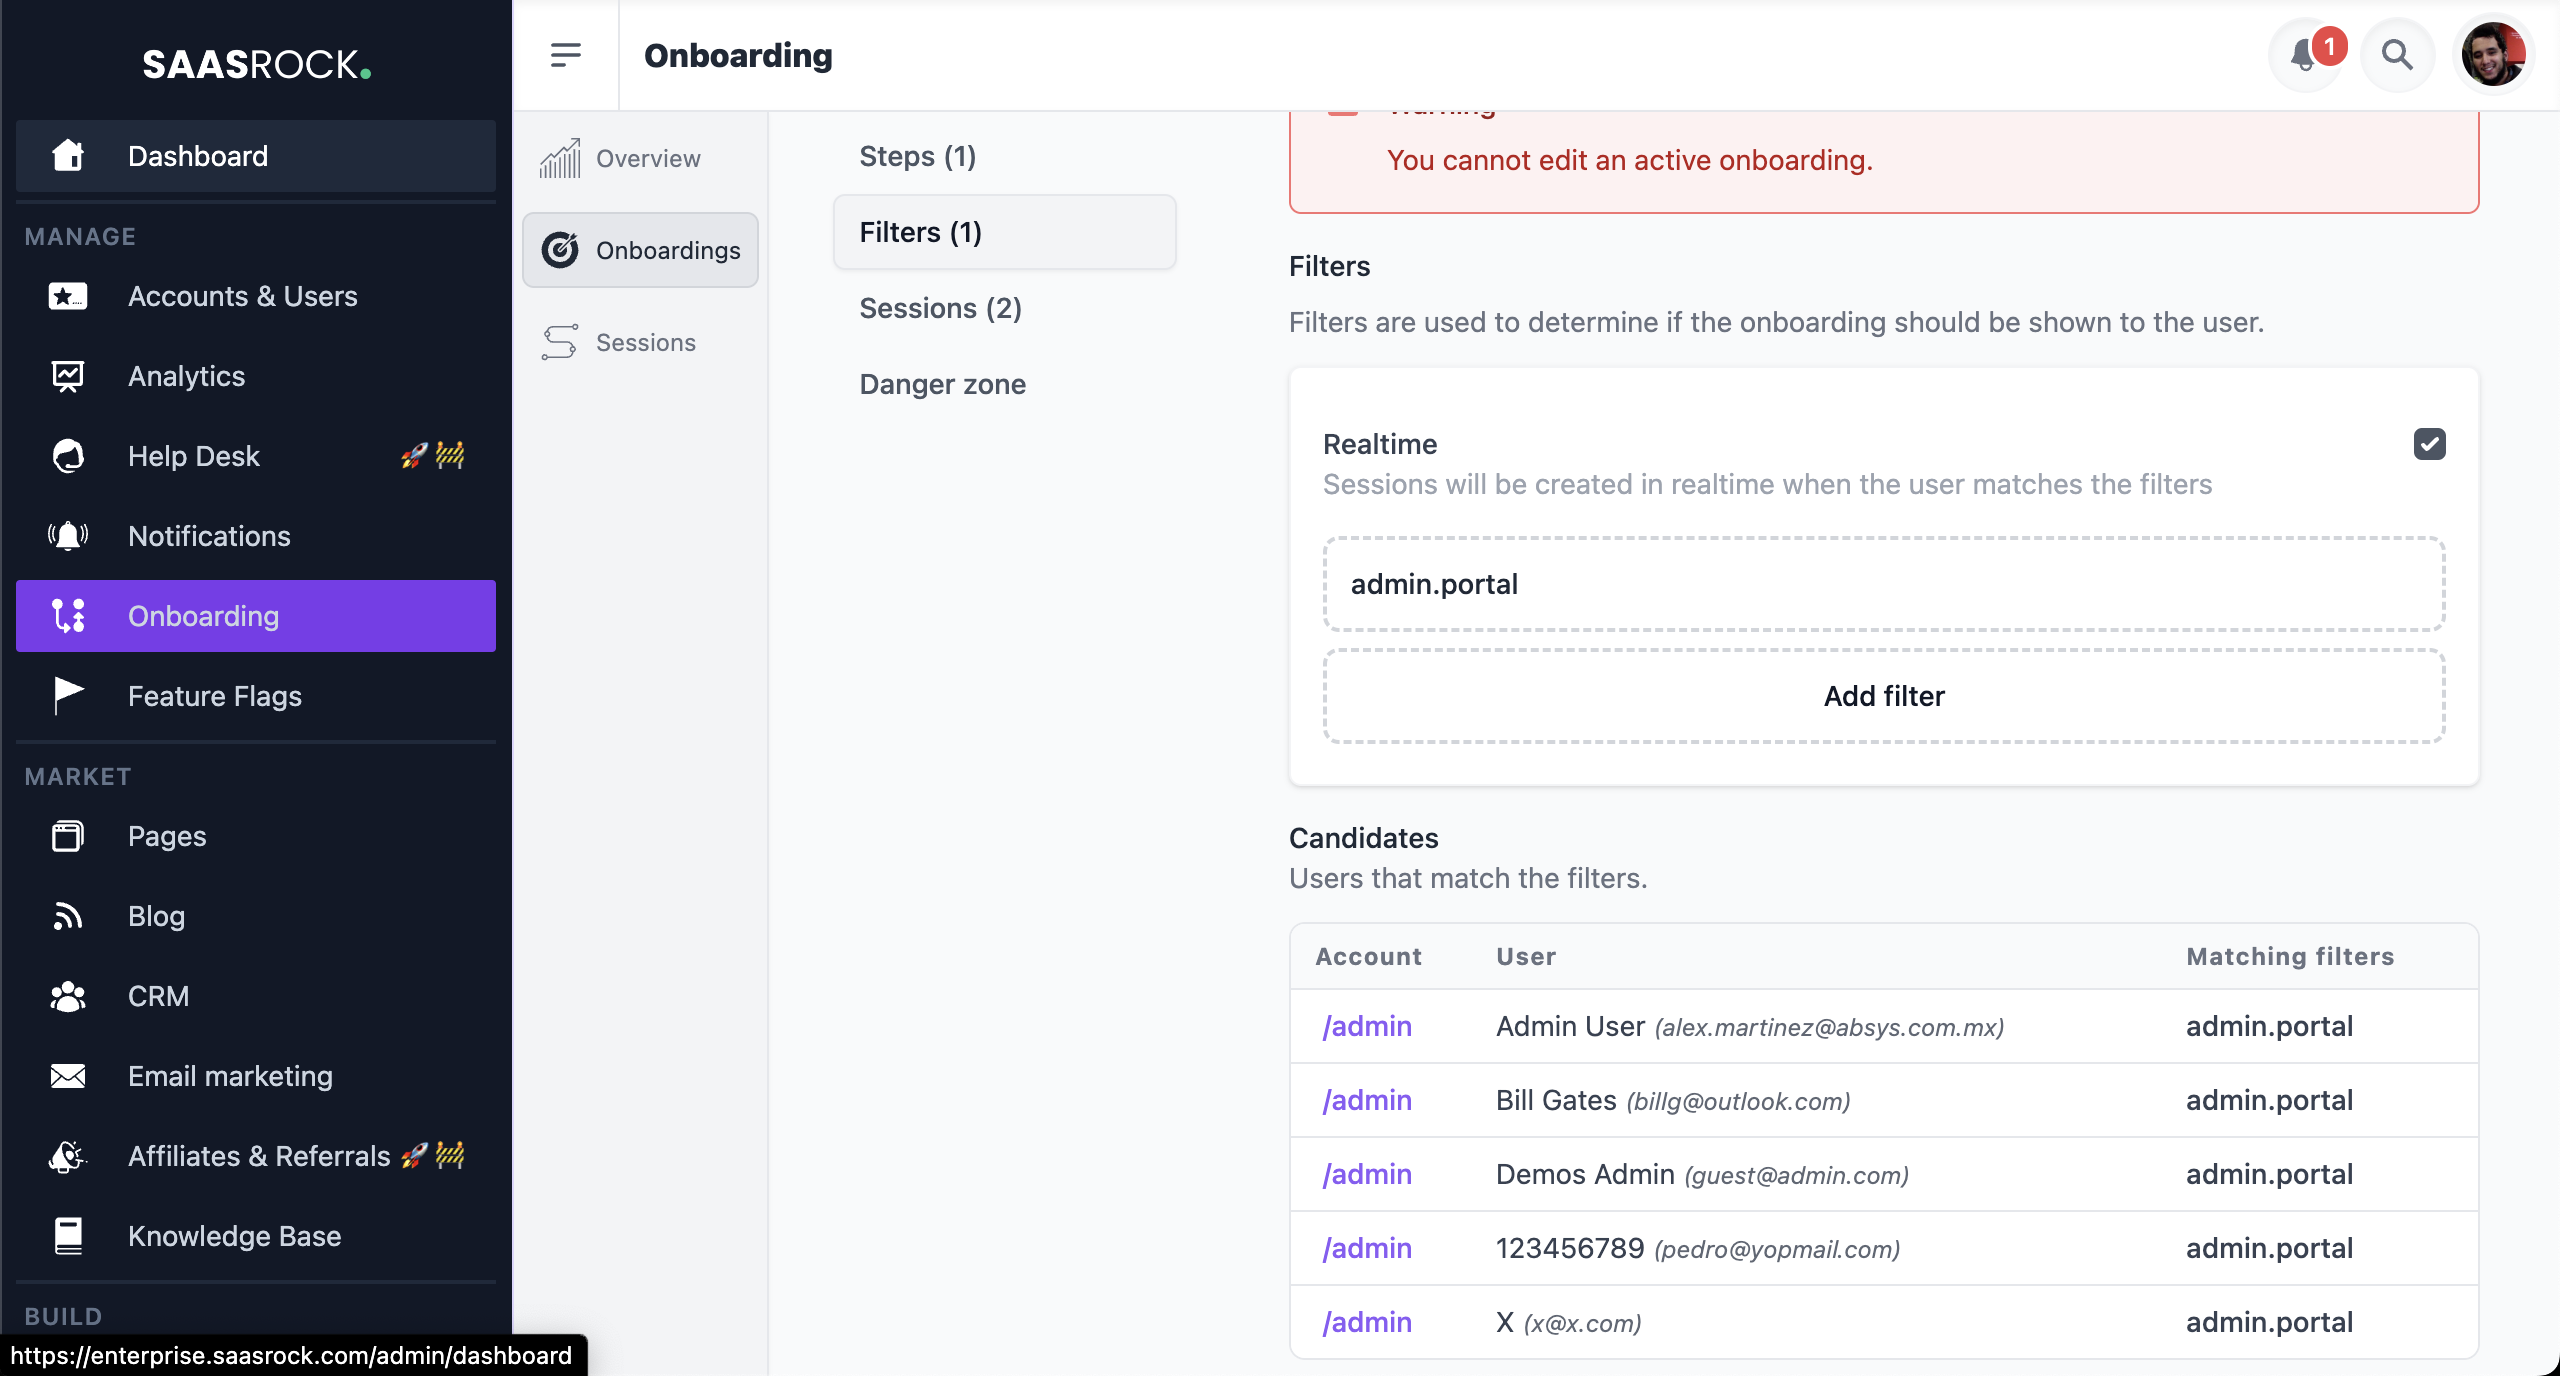
In the filters section, we can specify which users should see the onboarding. This is useful if we only want to show the onboarding to certain users, such as admin users or users in a specific language.

To add filters, click on "Add Filter" and select the type of filter to add. The available filter types include:
admin.portal: /admin users.
user.is: Specific user.
user.language: Users with a specific language.
user.firstName.notSet: Users who have not set their first name.
user.lastName.notSet: ...their last name.
user.avatar.notSet: ...their avatar.
user.roles.contains: Users with a specific role.
user.roles.notContains: Users with a specific role.
tenant.portal: /app users.
tenant.is: Specific tenant.
tenant.subscription.products.has: Has a specific subscription product.
tenant.subscription.active: Has an active subscription.
tenant.subscription.inactive: Has an inactive subscription.
tenant.api.used: Has used the API.
tenant.api.notUsed: Has not used the API.
tenant.user.entity.hasCreated: Has created a specific entity.
tenant.user.entity.hasNotCreated: Has not created a specific entity.
Activate Onboarding
Once the steps and filters are set, we can activate the onboarding by clicking on the "Activate Onboarding" button. This will make the onboarding visible to the users that match the filters.
We can also choose whether to save manual sessions for the users, or to make the onboarding real-time. If we choose real-time, the filters will be checked on each page load to determine whether to show the onboarding. This can be useful, but can also slow down page loading if the filters are complex.
