Create Widget-based SaaS apps
Build your SaaS around widgets: Chat, Trackers, Feedback... any widget!
- Author
- by Alexandro Martínez
- 1.6 years ago
In v1.3 the saasrock-widget project was introduced, giving you a shell to apps around widgets. Watch the video tutorial.
You could use SaasRock Widgets to create a SaaS similar to:
Chat Bubbles: Crisp, Intercom...
Trackers: SimpleAnalytics, Rewardful...
User feedback: Hotjar, SurveyMonkey...
⚠️ Widgets in Enterprise-only 🚀 feature, DM me your GitHub user to get access!
The widget project is a separate repository built with Preact, and shadcn/ui is already configured, so if you're going to build a UI-based widget (chat bubble, survey popup...) you will have a great UI building experience. This outputs an embed.js file that you copy-paste into your saasrock-enterprise instance (at the /public folder), so make sure to keep it as light as possible, always under 100 kb.
Step 1) Enable Widgets
Open the app/utils/db/appWidgetsConfiguration.db.server.ts file and enable them:
export function getWidgetsConfiguration({ t }: { t: TFunction }): WidgetsConfiguration {
  const conf: WidgetsConfiguration = {
    enabled: true,
    ...
Step 2) Create a Widget
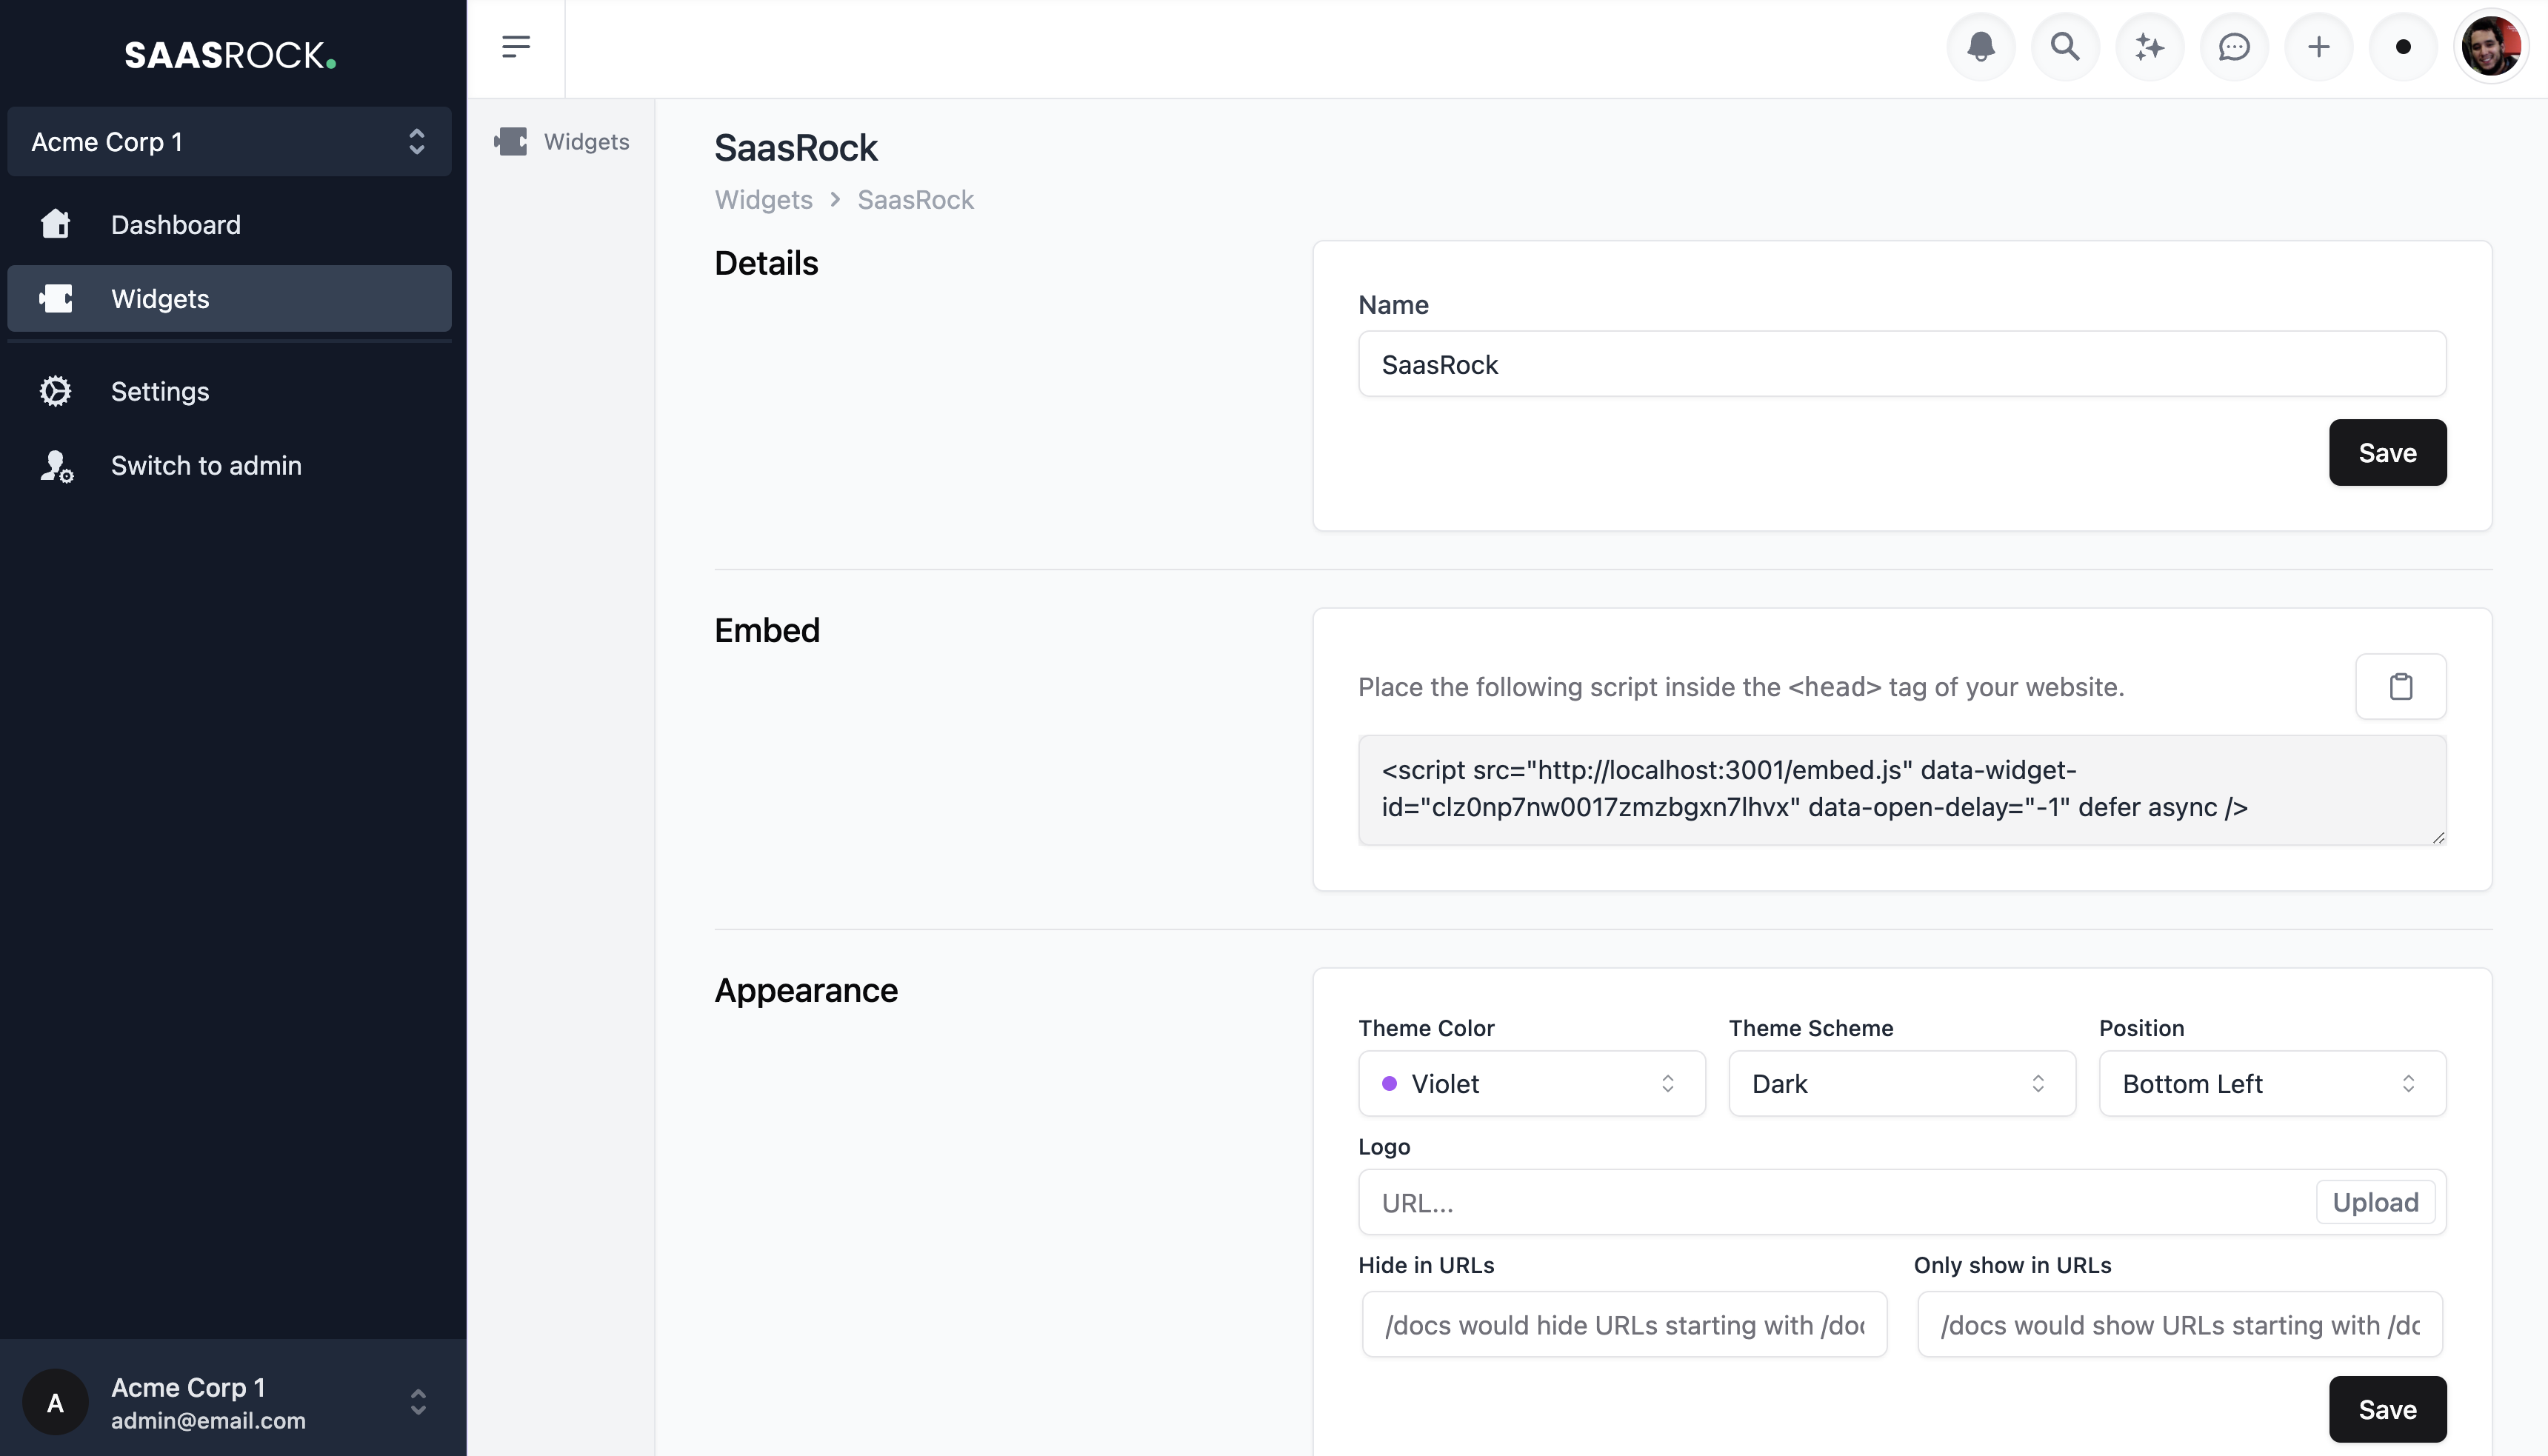
As a tenant user, create a widget at /app/:tenant/widgets:

Take note on the created widget ID at /app/:tenant/widgets/:id.
I've updated the appereance to be Violet, Dark and Bottom Left.
Step 3) Run the Widget App
Run the following commands to create a new widget project:
git clone https://github.com/AlexandroMtzG/saasrock-widget.git
cd saasrock-widget
npm i
cp .env.example .env
code .
And before running the app, make sure to use the same widget ID (in step 2) and place it at .env:
VITE_API_URL=http://localhost:3000 # your saasrock instance
VITE_WIDGET_ID={YOUR_CREATED_WIDGET_ID}
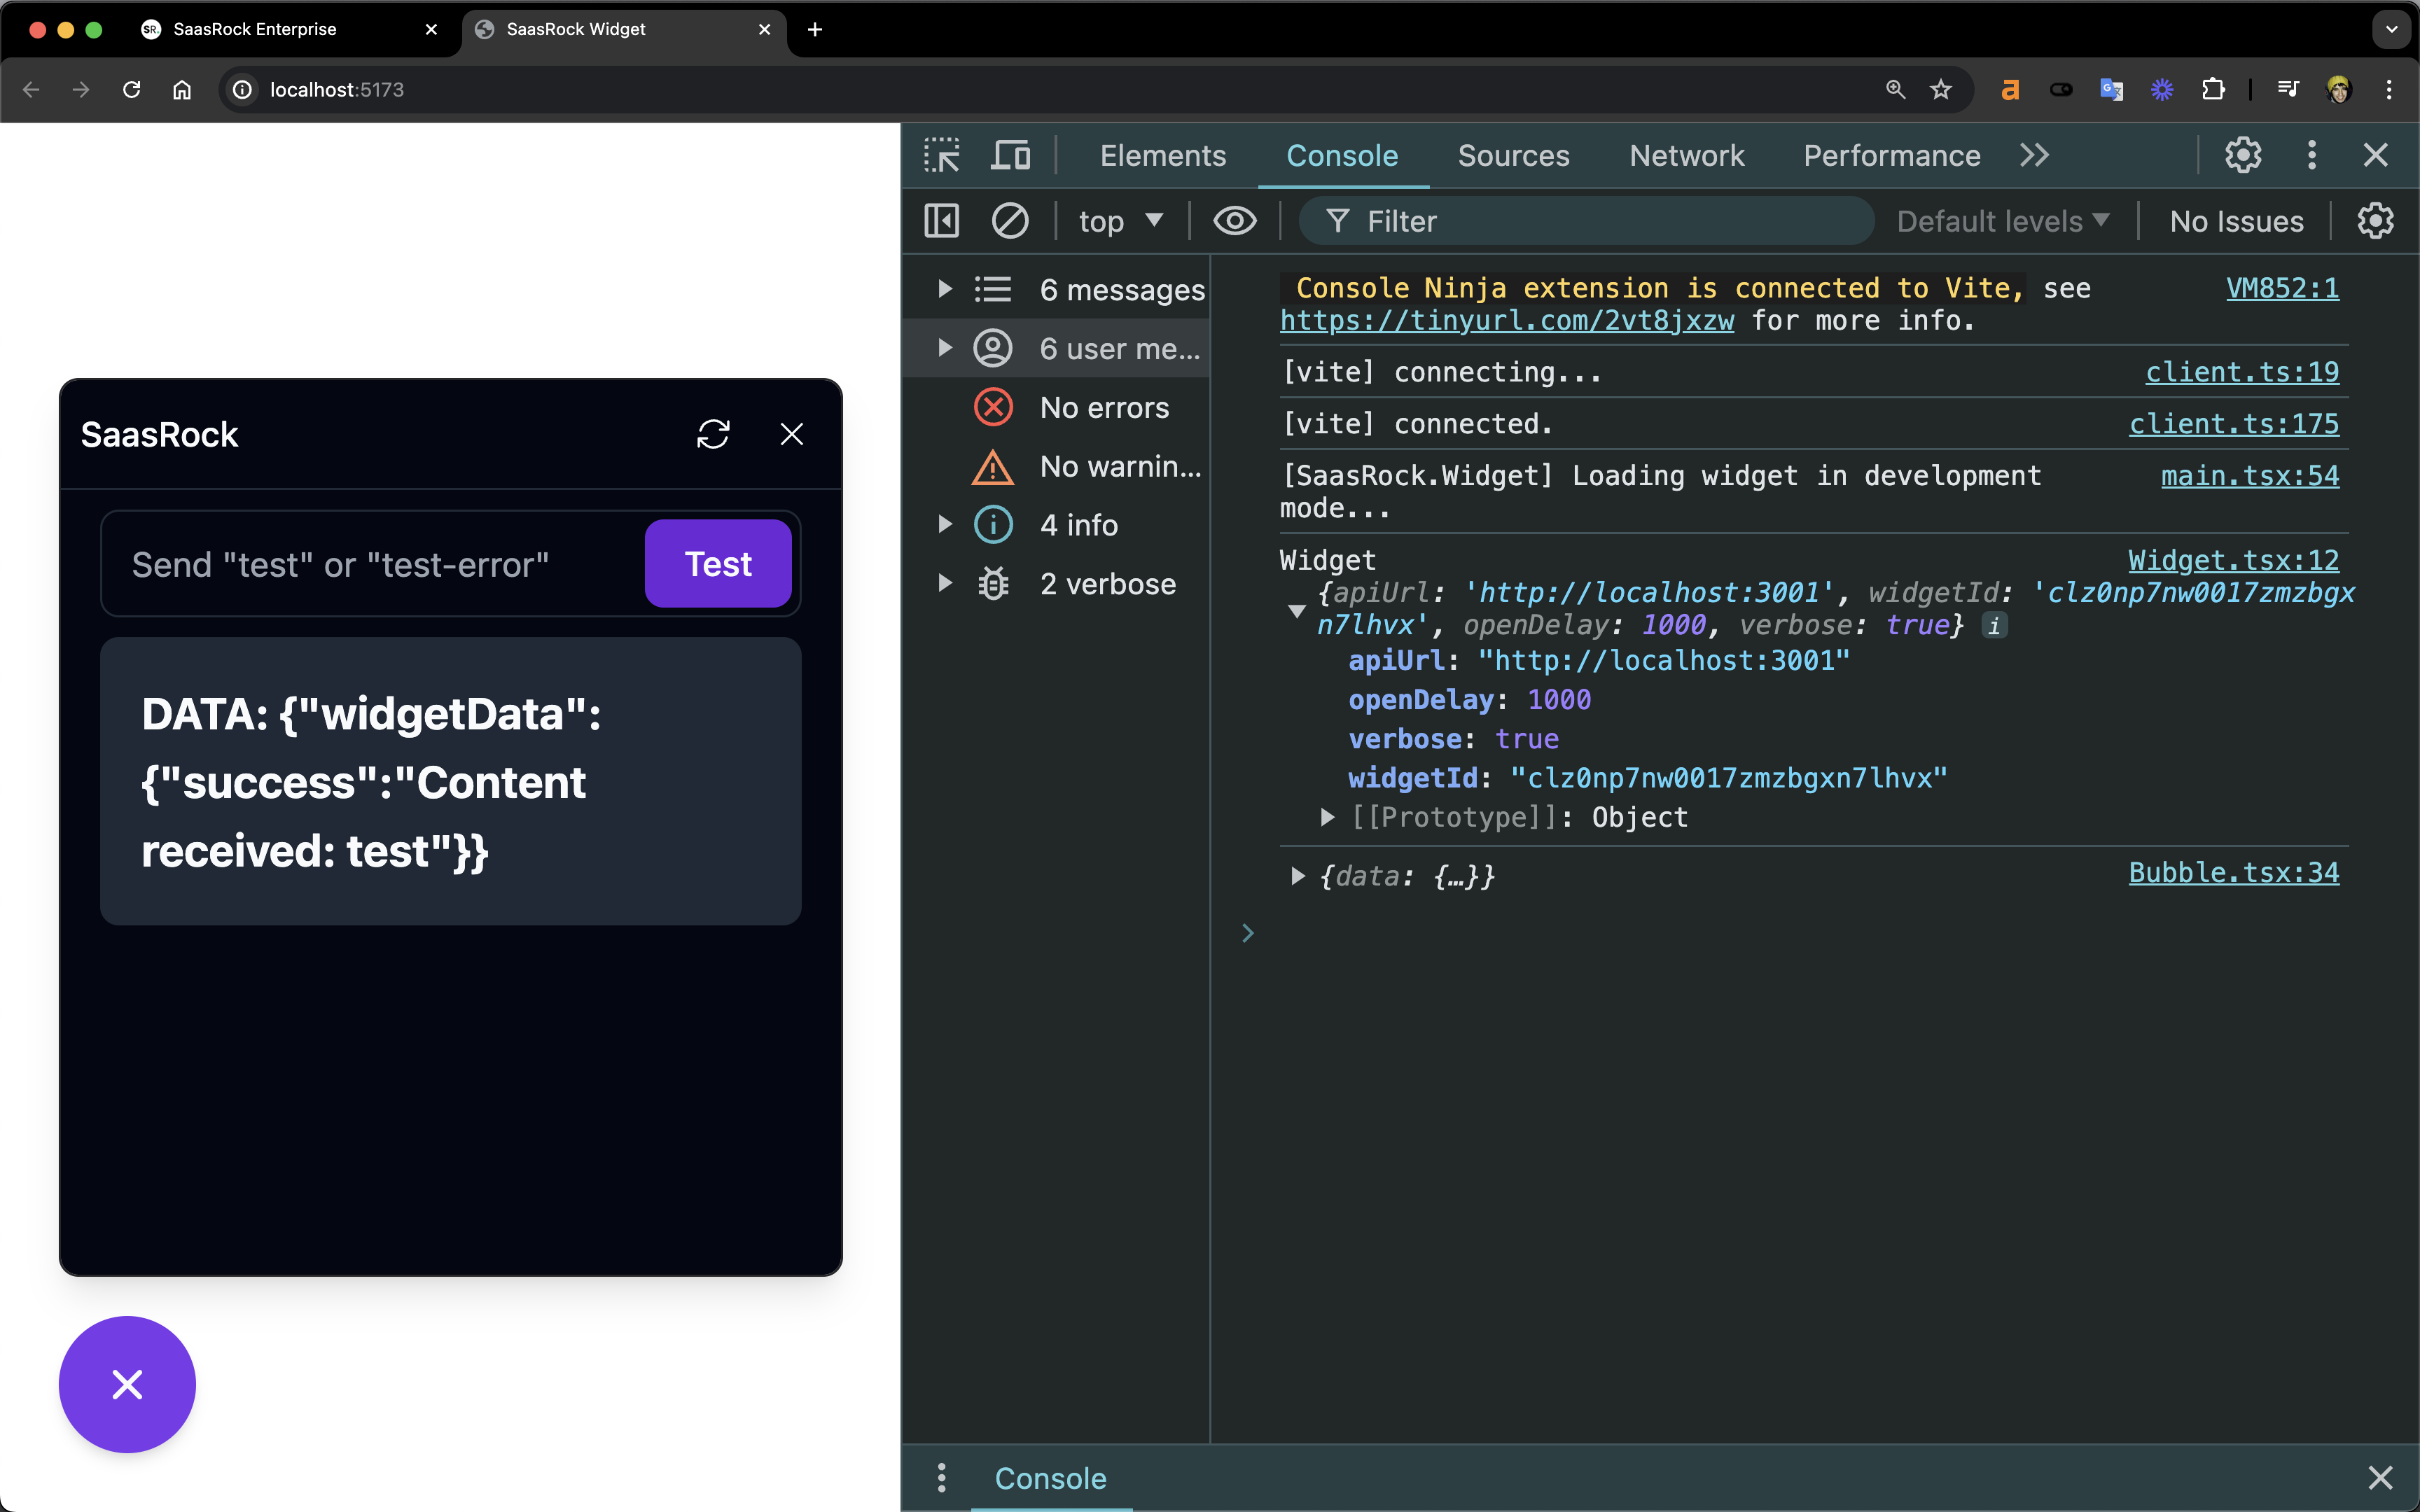
If an invalid widget id is set, the app will not display anything. Run npm run dev, and open the command tools:

Step 4) Implement your use case
There are 3 main components in the Widget project:
Widget.tsx: Entry pointBubble.tsx: Fetches the Widget at/api/widget/:ida and displaysBubbleButtonWidgetComponent.tsx: Displayed UI once the user clicks theBubbleButton
If you're not building a UI-based widget, such as an Analytics Tracker, you can replace the BubbleButton with null, and do the tracking operations behind the scenes using preact.
Step 5) Build and Embed Widget
Once your widget is ready, build the project:
npm run buildThis will output the embeddable script at dist/embed.js. Copy-paste it into your saasrock's instance public folder, right next to the favicon.ico file. Whenever you make a change to the Widget, make sure to repeat this step.
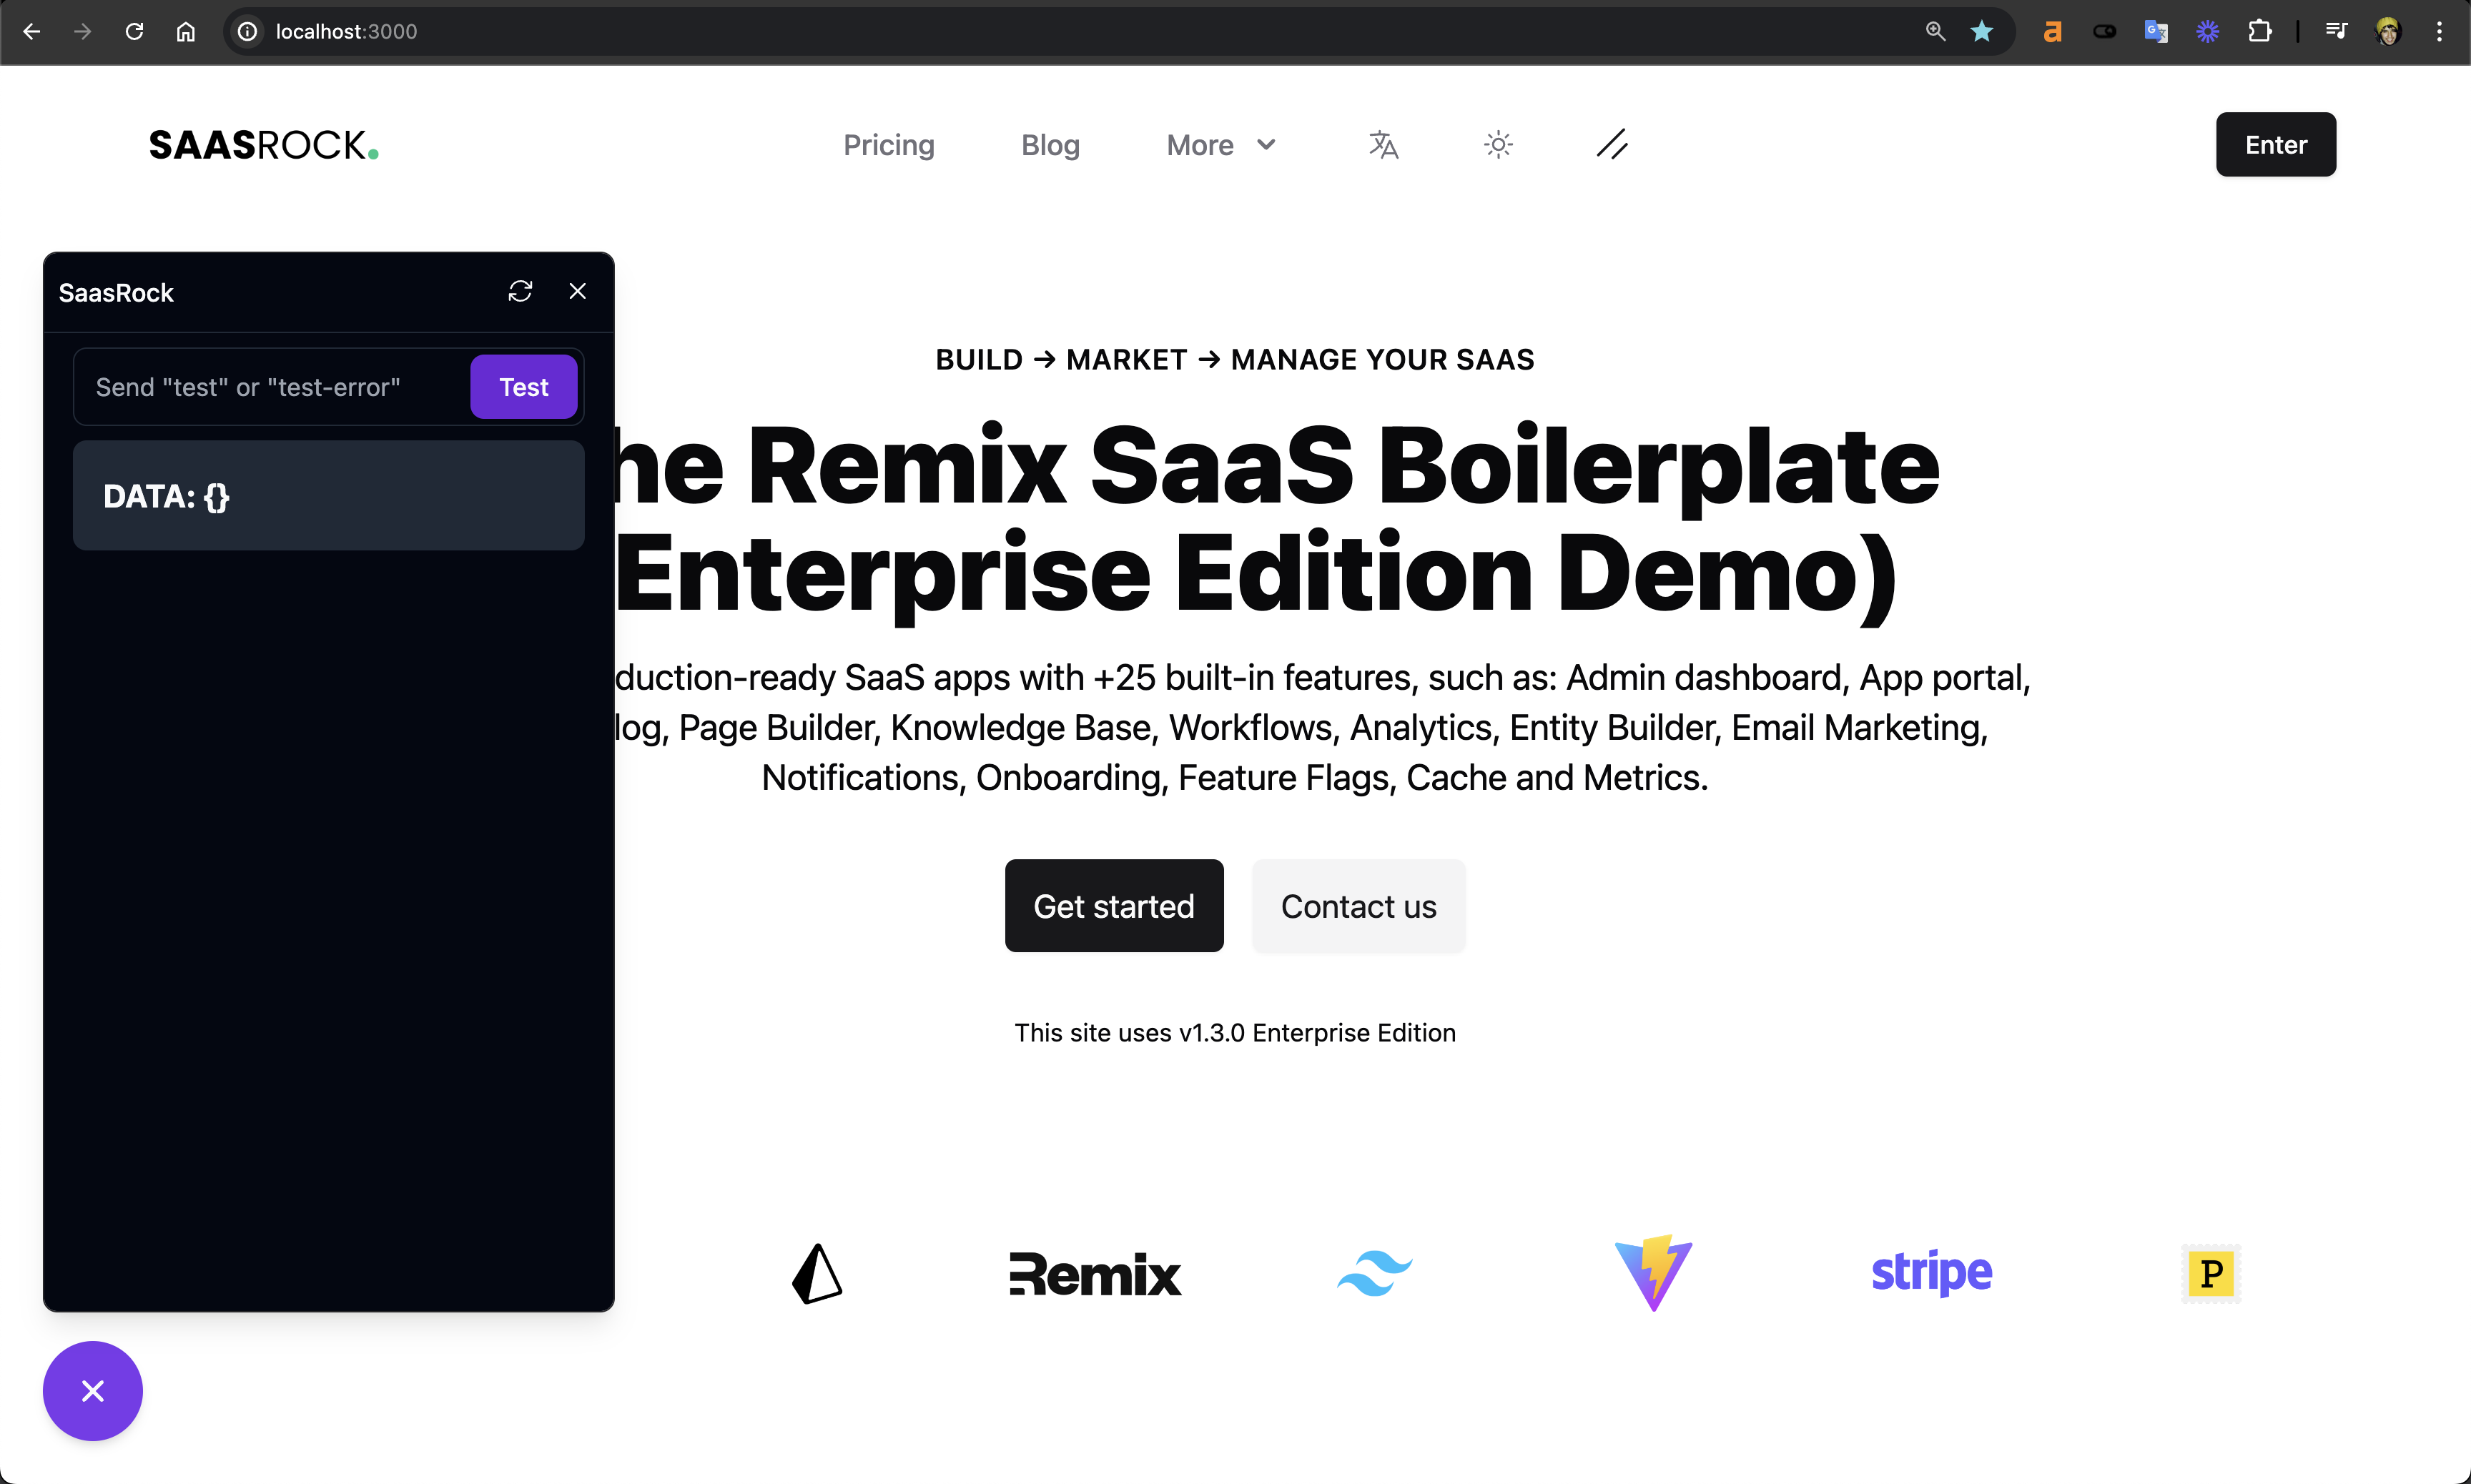
To test that the embeddable Widget renders correctly, you can put the following code inside the <head> tag at the root.tsx file:
<script src="http://localhost:3001/embed.js" data-widget-id="clz0np7nw0017zmzbgxn7lhvx" data-open-delay="-1" defer async />That's it!

Let me know what you think on the discord server, or DM me!
